

Fix Pressure Marks in Real Wood Floor
- Oct 22, 2018
- 2 min read
One thing you didn't know, is how often we receive phone calls about pressure mark on real wood floors. A common theme is when moving the fridge or dishwasher. People forgot that these machines are essentially a big lump of weight that don't like to be moved.
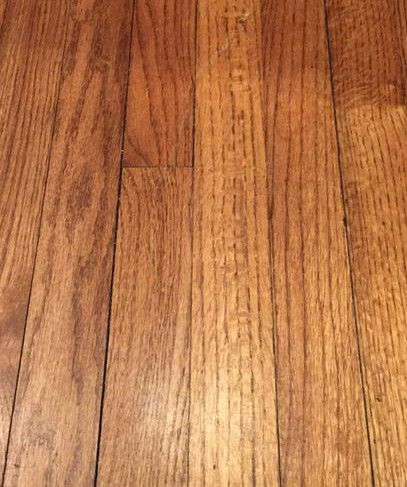
Maybe you have moved you furniture and dragged it across the real wood floors cause massive damage to you lovely flooring. Here are some photos of damaged real wood floors cause by the above situations.


Here are some tips and tricks to repairing pressure marks.
Step 1. Clean the surface
Products Required: Intensive Cleaner
We used this cleaner to rid surfaces of residue of finger prints and anything on the top layer before repairing. This provides a clean work space meaning the repairing will have better chance not be contaminated.

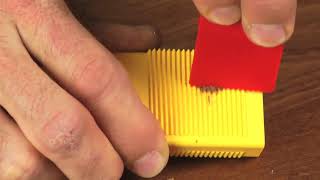
Step 2. Filling
Products Needed: Hardwax PLUS in Transparent Shades
Using the Hot Knife to melt in the Transparent wax over the damage and slightly overfill. Using the highest systen on the device is best to achieve the most adhesion from the wax. If the pressure mark is very deep clouding may appear. This is the unfortunate nature of deeper scratches.
When this happens, just mix in the appropriate timber shade colour of wax with the Transparent for the best results.

Step 3. Levelling
Products Need: Special Filler Applicator & or Special Scrapper
Remove the surplus of wax by planning with the Special Filler Applicator which levels without scratching the surrounding surface area. Using the Special Scrapper is similar to a chisel. By keeping the blade close to the surface we can take of all excess.

Step 4. Cleaning Wax Residue
Products Needed: Cellulose Thinner
We use the Thinner to take of excess wax that is very thin and that may be around the repaired area. The solvent based products is perfect for dissolving the smallest amount of wax so use wisely.
Step 5. Sealing
Product Needed: Furniture Lacquer PLUS
First choose appropriate lacuqer can for the sheen level. Seal filled damage by misting with Furniture Lacquer PLUS from a distance of 30 - 40 cm. Do not spray wet but lightly mist layers on every 10 minutes. If you have a hair dryer then this will speed up the process.


Comments