One easy way to get rid of sanding scratches in wood flooring with Felt Touch-Up Pens!
There are many situations where sanding has caused damages on wooden flooring, stairs and furniture surfaces. With these damages that are caused a lot of professionals and tradesman think that sanding it out is the only way. That is wrong. The amount of time and money spent on sanding theses damages is a lot for the result brought by doing so.
Since sanding in real wood surfaces still shows the natural fibres of the wood because it is more or less surface damages, then you must use a product that allows these natural fibres come through so the scratches are not visible anymore. One way is by using a product that is transparent and can essentially replicate the wood fibre. Our Felt Touch-Up pens are perfect product that use the transparent colours need to replicate the wood fibre properly. Depending on the shade of colour of the wood, then you will need a specific colour allowing the colour match to be perfect.
One of the cool things about using products that have transparency to them is, that they are perfect for scratches, holes and abrasions on genuine wood surfaces as they dye into the surface. This creates an affect almost hiding the damage, which then the damage can be filled with transparent wax after to level off. Transparent wax’s are really handy when it comes to repairs where the timber needs to be reflected through. Examples of where clear wax’s are used such as, dents and sanding scratches that actually let the wood reflect through.
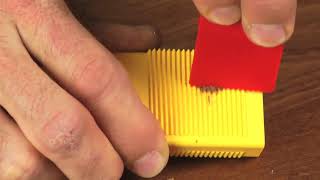
These are some steps to follow when using certain Felt Touch-Up Pens:
Dyeing of Finest Scratches and Abrasions: Touch-up with fine strokes and dots. Important: Do not paint! Firmly replace cap immediately after use.
Colour Correction: If too much dye has been applied (appears too dark), tone down by slightly wiping with Wire Wool after dye has begun to dry.
Preparation of Surfaces with Deep Scratches, Holes and Abrasions: Remove all loose particles, first. Slightly press damage edges round.
Dyeing of Deep Scratches, Holes and Abrasions: Stretch a cloth over the forefinger, dampen with dye and dab onto the light-appearing area.
Important: If the lacquer application is too wet, colour will soak into the wood and will make the area turn dark! Colour Correction in the Depth: If the edge/substrate has soaked too much colour, remove the dark areas by scratching with a chisel and re-dye with a lighter colour shade.