

HOW TO REPAIR STONE FLOORING AND BENCHTOPS?
- Feb 15, 2018
- 1 min read
Step 1. Preparation
The surface must be dry and at room temperature. Warm up the surface if necessary.
Step 2. Cleaning
Thoroughly clean the area to be repaired with the Cleaner. Allow to dry for approximately 30 seconds before filling.
Step 3.
Dependent on the colour of the stone, fill the damaged area either with the REPAIRLUX Filler Black or Transparent for Natural and Artificial Stone (inherent colour comes through). Attach Cannula to syringe first.
Step 4. Spreading
Use the Applicator Instrument to spread the filler evenly over the damaged area while intensifying the colour of the damaged area and removing any air bubbles.
Step 5. Smoothing
Cover the filler area with the Plastic Film and press on slightly. Do not press into the damage.
Step 6. Curing
Switch on Compact Light and place it over the damaged area and harden material alongside the scratch for approximately 30 seconds per square cm.
Step 7. Levelling
Use the Metal Planer with quick and short movements to strip off excess filler material. After use, clean the Planer with the Cotton Cloth.
Step 8. Sanding
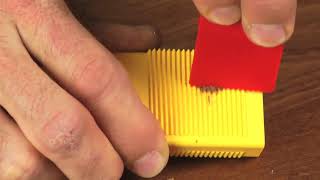
Now sand the damaged area with Micro Sanding Paper. Start from 2400, 3200, 4000 grads with water (stretch the Sanding Paper over the Felt Pad without creases). Afterwards, dry the area well with a Cotton Cloth. Note: After use, wash Sanding Paper thoroughly and allow to dry.
Step 9. Polishing
Apply Polishing Paste to the dry surface with the Felt Pad. If the desired sheen has not been achieved, the polis once more again. Note: Alternatively, you may also work mechanically using a felt wheel. After polishing, wipe the area over with a dry cloth.


Comments